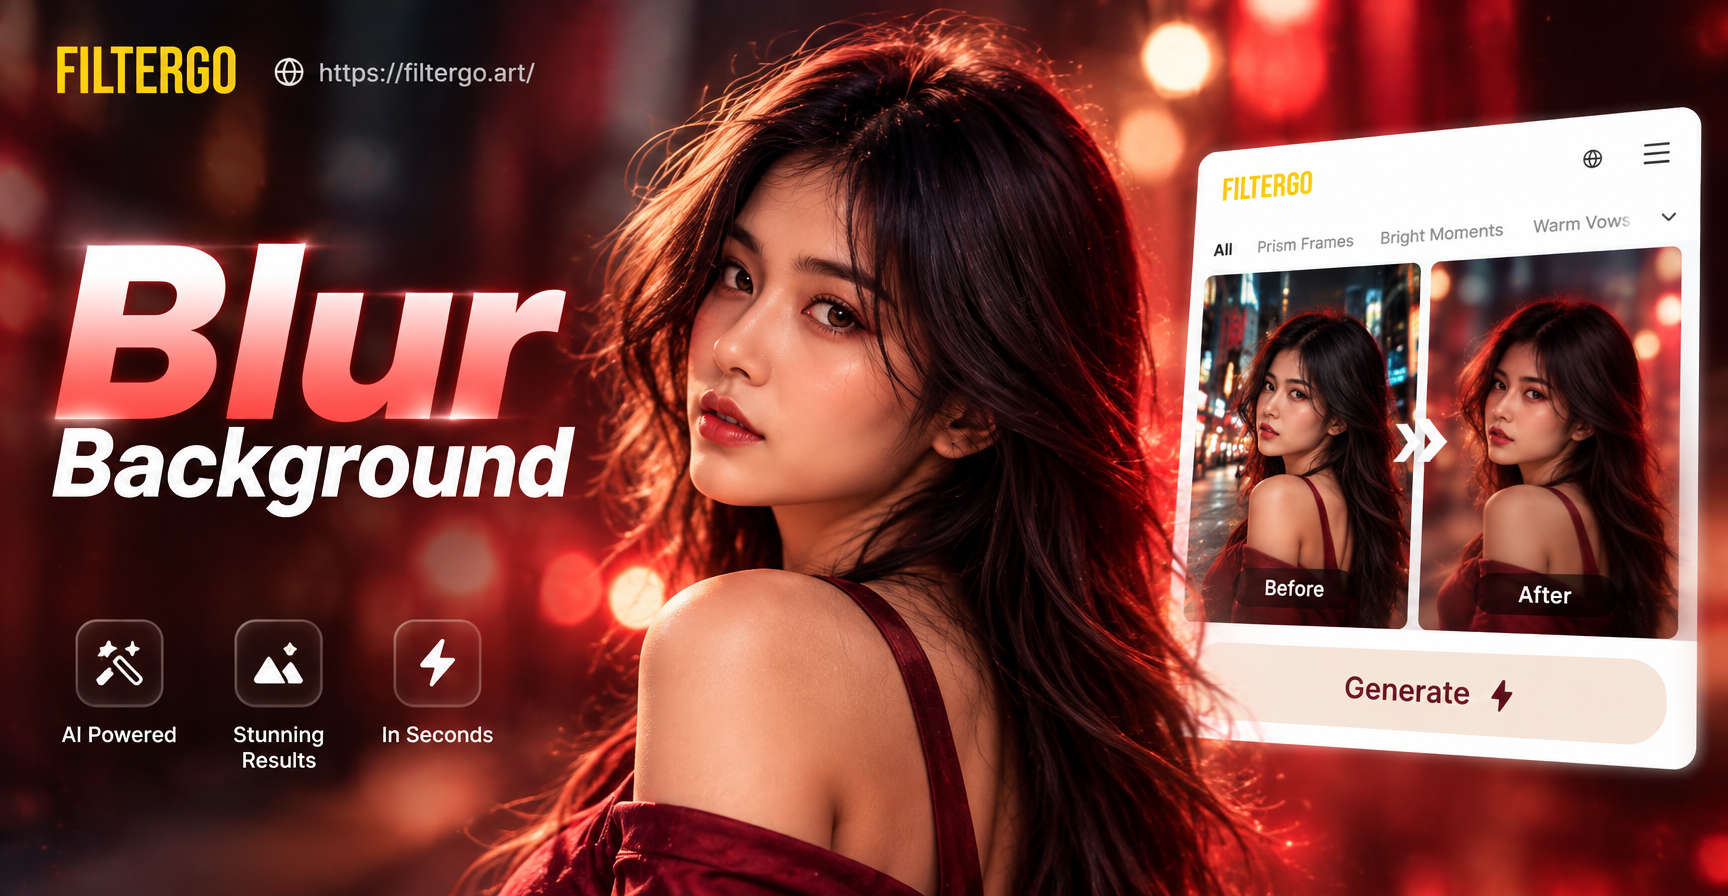
Blurring a photo background is one of the fastest ways to make your subject stand out. It removes visual clutter, adds a soft professional look, and draws attention directly to the person or object in focus. You do not need a DSLR or advanced editing experience. In this guide, we will show you how to blur a photo background with built-in phone tools, AI mobile apps like filtergo, and desktop software. Each method works for portraits, product shots, and everyday photos.
What Background Blur Does for Your Photo
Background blur, also called bokeh or depth of field, keeps the main subject sharp while softening everything behind it. This effect happens naturally when a camera uses a wide aperture and a close subject. Smartphones and editing apps now recreate the look digitally. The result is a cleaner image that feels more intentional. You can use background blur to hide a messy room, make a selfie look studio shot, or add professional polish to an online profile picture.
Method 1: Use Portrait Mode When Taking the Photo
The easiest way to control background blur is to create it before you tap the shutter. Most modern phones have a portrait mode. This mode uses depth data to separate the subject from the scene and applies a soft blur automatically.
On iPhone
Open the Camera app and swipe to Portrait. Position your subject two to eight feet away. Tap the focus point on the subject. For a stronger blur, use the f-stop or Depth Control slider after taking the shot. A lower f-number creates more blur.
On Android
Open the standard Camera app and choose Portrait, Live Focus, or Lens Blur depending on your model. Keep the phone steady and wait for the depth indicator. Take the photo, then open the gallery to adjust the blur intensity if your device supports it. Samsung and Google Pixel phones typically offer this option.
Method 2: Add Background Blur After You Take the Photo
If you already have a photo that you love, you can still blur the background. Phone galleries and free editors provide post capture blur tools. This method works even for images taken years ago.
Google Photos
Open a photo, tap Edit, choose Tools, and select Blur. The app detects the subject and softens the background. You can adjust the strength and use a slider to control the transition. This tool is available on many Android phones and can be installed on iPhone.
iPhone Photos App
For photos taken in Portrait mode, open the image and tap Edit. Use the Depth button or the portrait lighting controls to change the amount of background blur. You can also tap the subject to shift focus after the fact. This does not work for standard photos unless they already contain depth data.
Samsung Gallery and Other Android Editors
Open the photo in Samsung Gallery, tap Edit, and choose Background. The app can add a retro, soft, or blurred effect to the background area. Other phones may use the built-in editor from Xiaomi, Oppo, or OnePlus, often under the Blur or Depth menu.
Method 3: Use an AI Mobile App Like filtergo
Native tools work well for simple subjects, but they can struggle with busy edges, hair, or transparent objects. AI image apps are designed for cleaner separation. filtergo is a mobile AI design app available on Google Play. It includes image-to-image tools and a large library of style filters, which makes it helpful when you want a consistent soft background without manual masking.
How to blur a photo background in filtergo
Start by downloading filtergo from Google Play. Open the app and import the photo you want to edit. Choose a background blur or soft focus style from the filter library. The AI identifies the main subject and keeps it sharp while the background becomes smooth. Move the intensity control if available until the result looks natural. Then save the image to your gallery or share it directly from the app. This method is especially useful for full body shots, group photos, and pictures with difficult outlines.
Method 4: Try Desktop Software for Advanced Control
If you edit on a computer, desktop programs give you the most precise blur. In Photoshop, duplicate the layer, select the subject with the Object Selection tool, and create a mask. Then apply Lens Blur or Gaussian Blur to the background layer. In GIMP, use the Paths tool to outline the subject, invert the selection, and use a blur filter. Canva and Lightroom also include background blur for slower, simpler edits. Desktop tools take more time, but they are the best choice for product photography or print quality.
Common Mistakes That Make Blur Look Fake
A bad blur can ruin an otherwise good photo. The most common issue is a hard cut line around the subject. This happens when the mask is not feathered. Another mistake is applying the same blur to the subject and the background, which removes all focus. Overblurring a background that was already far away can look unnatural. Finally, blurring a photo with complex lighting or windblown hair often creates floating edges. Always zoom in and check the subject boundary before saving.
- Hard edges: Use a soft brush or feather setting.
- Overblurred scene: Keep the effect strong enough to clean up clutter, but not so heavy that details disappear.
- Wrong focus point: Make sure the subject's eyes or the main product stays sharp.
- Low resolution output: Export at the original resolution to avoid pixelation.
Tips for Natural Looking Background Blur
To get a result that looks like it came from a professional camera, start with a photo where the subject is clearly separated from the background. Good lighting on the subject helps the AI or editor find the edges. Choose a background that is not too close to the subject. If you are using an AI app, compare two or three filter styles before deciding. Keep the blur amount moderate and use the preview tool to zoom in on hair and clothing edges. For portraits, apply slightly less blur to the area near the shoulders so the transition feels gradual. For product shots, keep the floor or surface slightly visible to maintain depth.
Final Thoughts
Learning how to blur a photo background is a practical skill for social media, profiles, and marketing. You can use portrait mode before shooting, built-in tools after the fact, or an AI app like filtergo when you want fast, clean results with minimal manual work. Start with a clear photo, choose a method that fits your device, and check the edges before you share. With a few small adjustments, any photo can look softer, cleaner, and more professional.